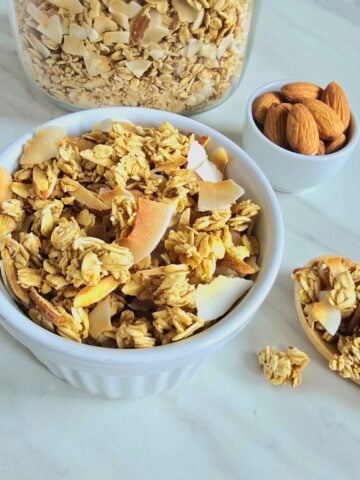
Try this crunchy and tasty banana granola for a delicious and nutritious snack or breakfast. Enjoy it with yogurt or milk and fresh fruits. This is a vegan and dairy-free recipe.

Jump to:
This is a healthy twist on traditional granola with ripe banana, peanut butteralmonds and a touch of cinnamon to enhance the flavour. With substitutions and the addition of different ingredients, this banana granola recipe can be tailored to suit personal preference.
The best part is that you can use up the leftover overripe bananas. Check out more banana recipes on the blog - banana chia seed pudding, banana chocolate overnight oats, banana cinnamon smoothie and banana oatmeal smoothie.
This is a game changer, specifically for kids who dislike the texture of banana. They can still enjoy all the nutritional benefits in a tasty bowl. You can make it even more fun by mixing in their favourite nuts, dried fruits, or chocolate chips.
Ingredients

- Oats: I have used rolled oats, also called old fashioned oats.
- Nuts and Dried Fruits: Almonds and raisins are used here.
- Spices and Other Ingredients: Ground cinnamon and flax meal are used for added flavour and nutrients.
- Fresh Fruit: I have used a leftover over-ripe banana.
See the recipe card for quantities.
Step By Step Instructions

Step 1: Mash bananas with a fork in a saucepan.
Step 2: Stir in peanut butter, coconut oil and maple syrup.

Step 3: Place the saucepan on the stovetop and cook over medium heat.
Step 4: Stir regularly and cook for 2-3 minutes until the peanut butter loosens and blends well with the other ingredients.
Step 5: Switch the heat off and set it aside.

Step 6: Preheat the oven to 140 C (290 F).
Step 7: In a mixing bowl, combine oats, almonds, flaxmeal and cinnamon.

Step 8: Pour the cooked banana peanut butter mixture and stir well until everything is well combined.

Step 9: Transfer the mixture onto the lined baking tray.
Step 10: Spread it evenly and press gently with a spatula.

Step 11: Bake for 20-25 minutes in a preheated oven until edges turn golden brown.
Step 12: Remove the tray from the oven and let the granola cool completely on the baking sheet. It will harden as it cools.

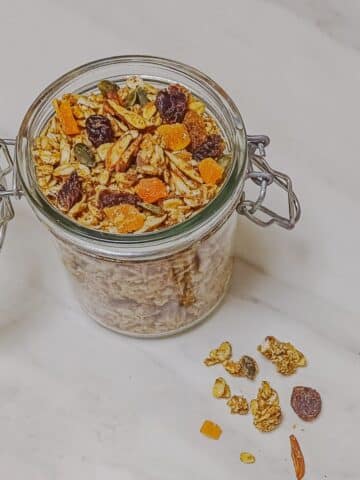
Step 13: Break crunchy granola into pieces, mix in raisins and store in a clean glass jar.
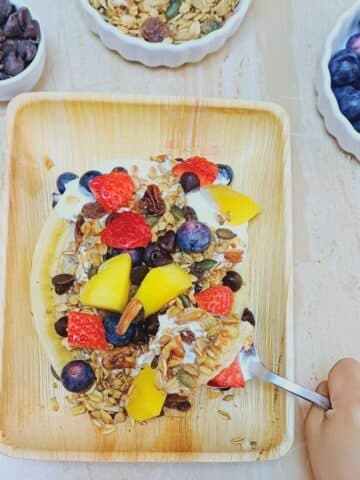
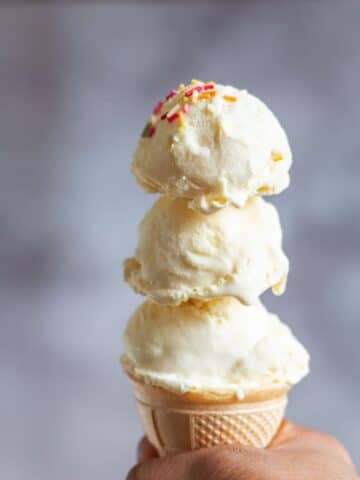
Enjoy banana granola with milk/yogurt for breakfast, as a snack, to prepare yogurt granola parfait or as a topping on ice creams.
Substitutions and Variations
Sweetener: You can substitute maple syrup with honey, agave nectar or any other sweetener of your choice.
Oats: For a gluten-free option, use certified gluten free oats.
Seeds and Nuts: Try different seeds and nuts such as pumpkin seeds, sunflower seeds or walnuts instead of almonds.
Fruits: Experiment with other dried fruits for a different texture and flavour.
Storage
Store the granola in a cool and dry place away from direct sunlight, as it gets rancid more quickly if exposed to direct sunlight.
After the granola has cooled completely, store it in an airtight jar at room temperature. When stored properly, the granola can stay fresh and tasty for 10-15 days. Store it in the fridge for a longer shelf life.
Tips and Tricks
Use Rolled Oats: Use rolled oats also known as old-fashioned oats as they provide a nice texture and absorb flavours well.
Use Parchment Paper or Silicone Mat: Line your baking sheet with parchment paper/greaseproof paper or a silicone baking mat to prevent granola from sticking and make cleanup easier.
Even Coating: Make sure the banana mixture thoroughly coats the dry mixture. Mix well to ensure everything is well combined.
Low and Slow Baking: Bake your granola at a lower temperature (around 290°F or 140°C) and for a longer time. This prevents burning and allows flavours to develop gradually.
Mash Banana: Using a fork, mash bananas until they are completely smooth, making sure no large chunks are remaining.
Related
Looking for other granola recipes? Try these:
Different Ways To Use Granola
KEEP IN TOUCH
Do let me know if you try this banana granola recipe. If you like this recipe, kindly consider rating it using stars in the comment section or on the recipe card to help more people find this recipe online. You can stay up to date by following me on Facebook, Pinterest, Instagram or subscribing to my Youtube channel. Or why not subscribe to my blog and get simple recipes straight to your inbox?
📖 Recipe Card

Banana Granola
Equipment
Ingredients
1 Cup = 250ml ;
- 2 Large Bananas
- ¼ Cup Peanut Butter
- 2 Tablespoons Coconut Oil
- 2 Tablespoons Maple Syrup
- 325 gms Rolled Oats/Old Fashioned Oats
- 3 Tablespoons Almonds chopped
- 1 Tablespoon Flaxmeal
- 1 Teaspoon Cinnamon
- 2 Tablespoons Raisins
Instructions
- Mash bananas with a fork in a saucepan.2 Large Bananas
- Stir in peanut butter, coconut oil and maple syrup.¼ Cup Peanut Butter, 2 Tablespoons Coconut Oil, 2 Tablespoons Maple Syrup
- Place the saucepan on the stovetop and cook over medium heat.
- Stir regularly and cook for 2-3 minutes until the peanut butter loosens and blends well with the other ingredients.
- Switch the heat off and set it aside.
- Preheat the oven to 140 C (290 F).
- In a mixing bowl, combine oats, almonds, flaxmeal and cinnamon.325 gms Rolled Oats/Old Fashioned Oats, 3 Tablespoons Almonds, 1 Tablespoon Flaxmeal, 1 Teaspoon Cinnamon
- Pour the cooked banana peanut butter mixture and stir well until everything is well combined.
- Transfer the mixture onto the lined baking tray.
- Spread it evenly and press gently with a spatula.
- Bake for 20-25 minutes in a preheated oven until edges turn golden brown.
- Remove the tray from the oven and let the granola cool completely on the baking sheet. It will harden as it cools.
- Break crunchy granola into pieces, mix in raisins and store in a clean glass jar.2 Tablespoons Raisins
- Enjoy banana granola with milk/yogurt for breakfast, as a snack, to prepare yogurt granola parfait or as a topping on ice creams.
Notes
Nutrition

Welcome to Flavours Treat. I share vegetarian recipes made with wholesome, mostly fresh ingredients. Every recipe has easy-to-follow instructions with process shots (detailed step-wise pictures), a short video and lots of tips to help your cooking journey. Read more




Leave a Reply