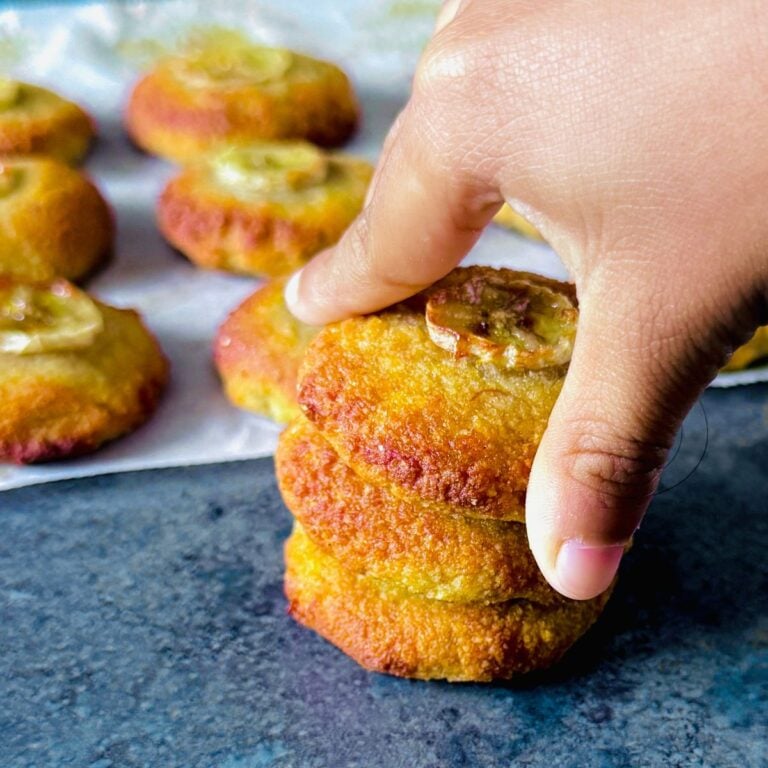
Looking for a healthy treat your kid will actually enjoy? Try these soft and naturally sweetened kid friendly 3 ingredient banana oat breakfast bars that are perfect for busy mornings or after school snack.
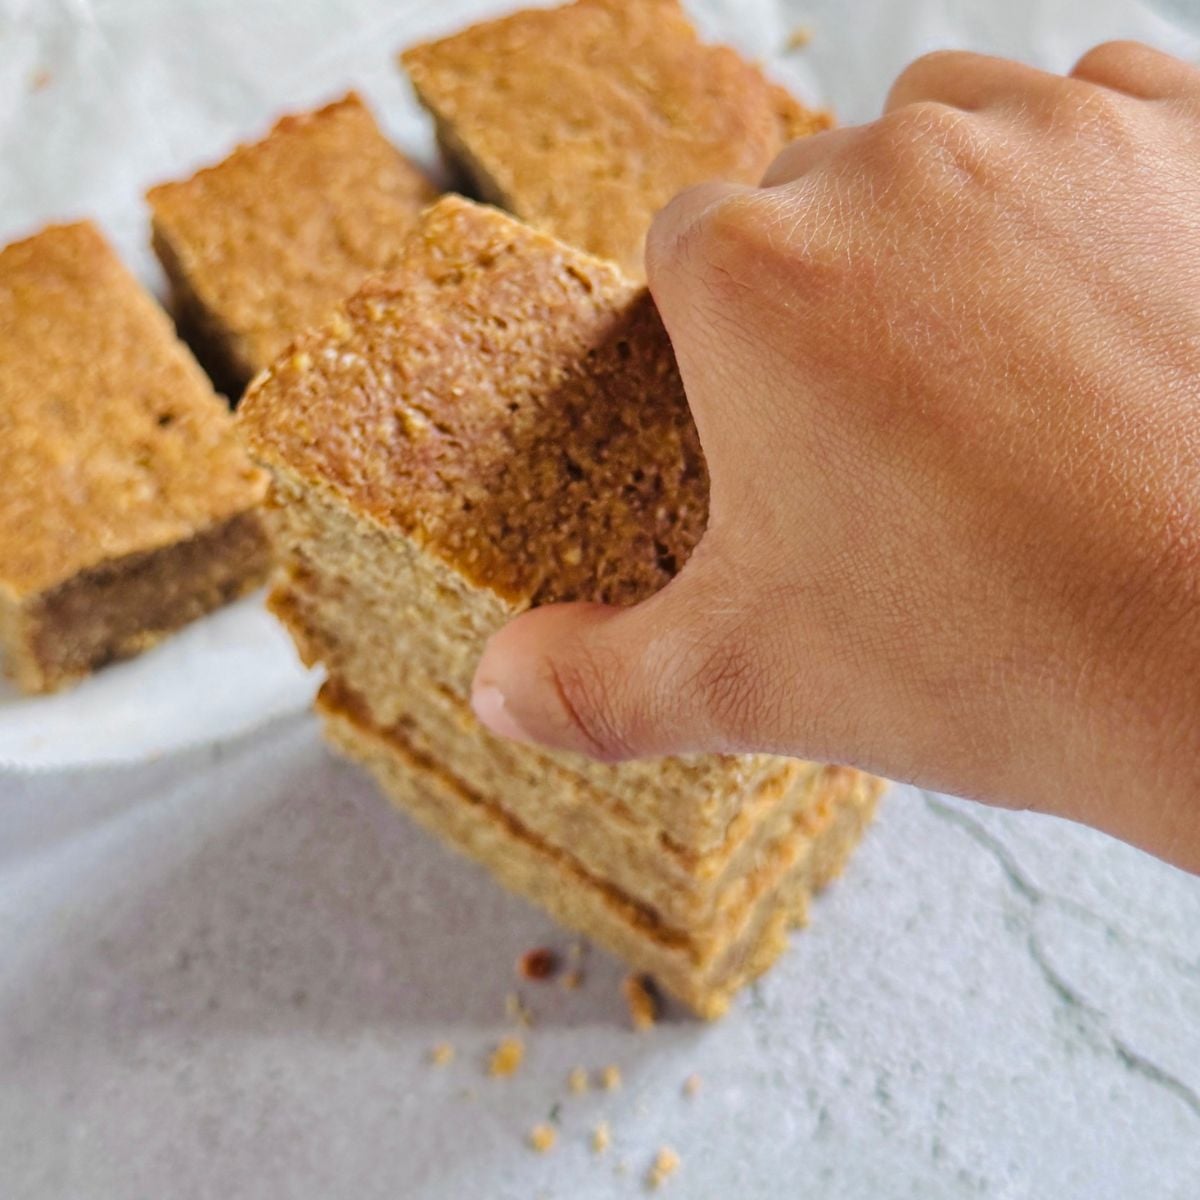
Made with just 3 simple ingredients, they’re a great way to use up leftover bananas. These soft and chewy bars are perfect for toddlers and young kids due to their texture, natural sweetness, and easy to hold size for little hands.
These healthy banana oatmeal breakfast bars are a perfect way to add fruit and nut butter to their diet. These are nutritious, filling and help keep kids full until their next meal. This is a perfect recipe to make with kids
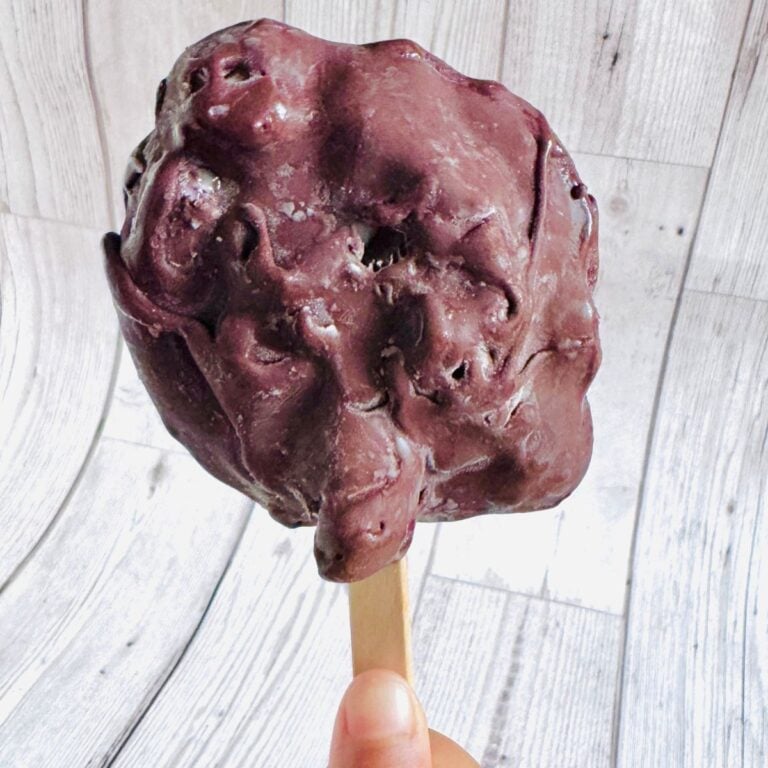
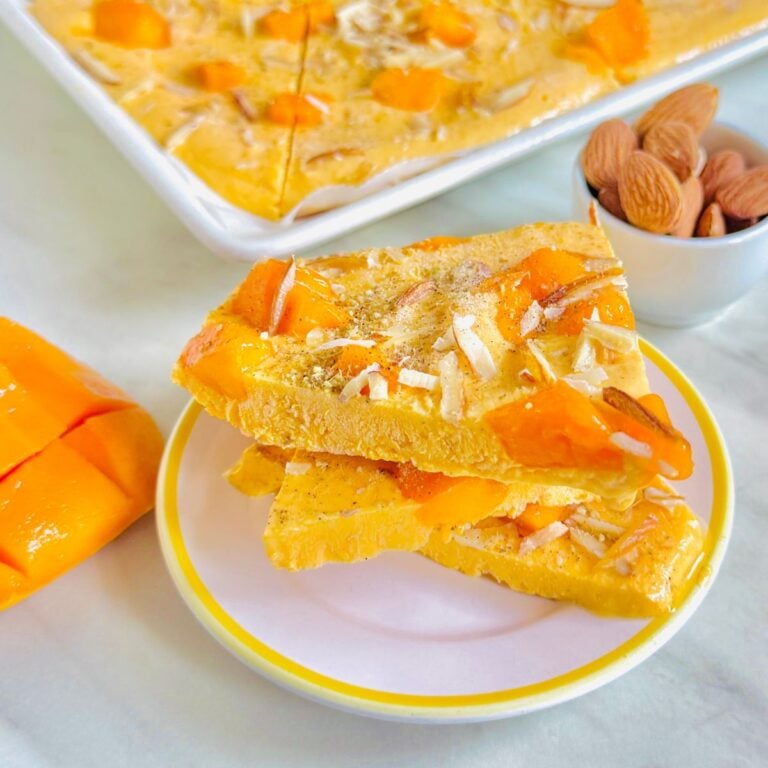
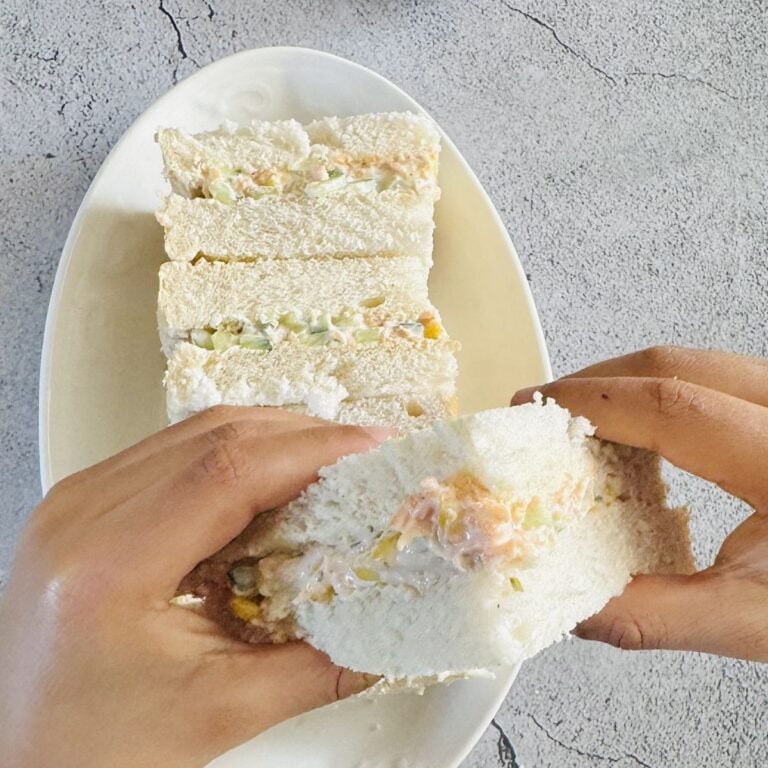
Looking for easy and interesting recipes to make with kids? Check out frozen banana pops, coconut superseed stuffed dates, tortilla fruit pinwheels, blueberry breakfast quesadilla and cranberry walnut wraps.
Cooking with kids can be enjoyable, but their safety should be prioritised. Only allow older kids to handle the oven with appropriate mitts if you believe they are capable and keep younger ones at a safe distance while it’s in use. Do not allow young kids to handle knife or any sharp objects. Always supervise kids while they are using the oven. For more details, check out the recipe and safety disclaimer.
Notes On Ingredients
Here’s everything you’ll need to make this recipe. Scroll down to the recipe card to find the ingredient quantities and recipe instructions.

- Fruit: I suggest using bananas with more spots, even overly ripe bananas work best as they are incredibly sweet.
- Pantry Ingredients: I used rolled oats and peanut butter. But you can swap peanut butter with any nut butter.
How To Make Banana Oat Breakfast Bars?
(This is an overview with process photos, the full recipe is at the bottom in a recipe card)
As always, I recommend watching the short recipe video and checking out these step by step instructions first. Then you can find the full recipe with exact measurements in the recipe card.

Step 1: Preheat the oven and line a small baking dish with parchment/baking paper.
Step 2: Place all ingredients in a food processor.
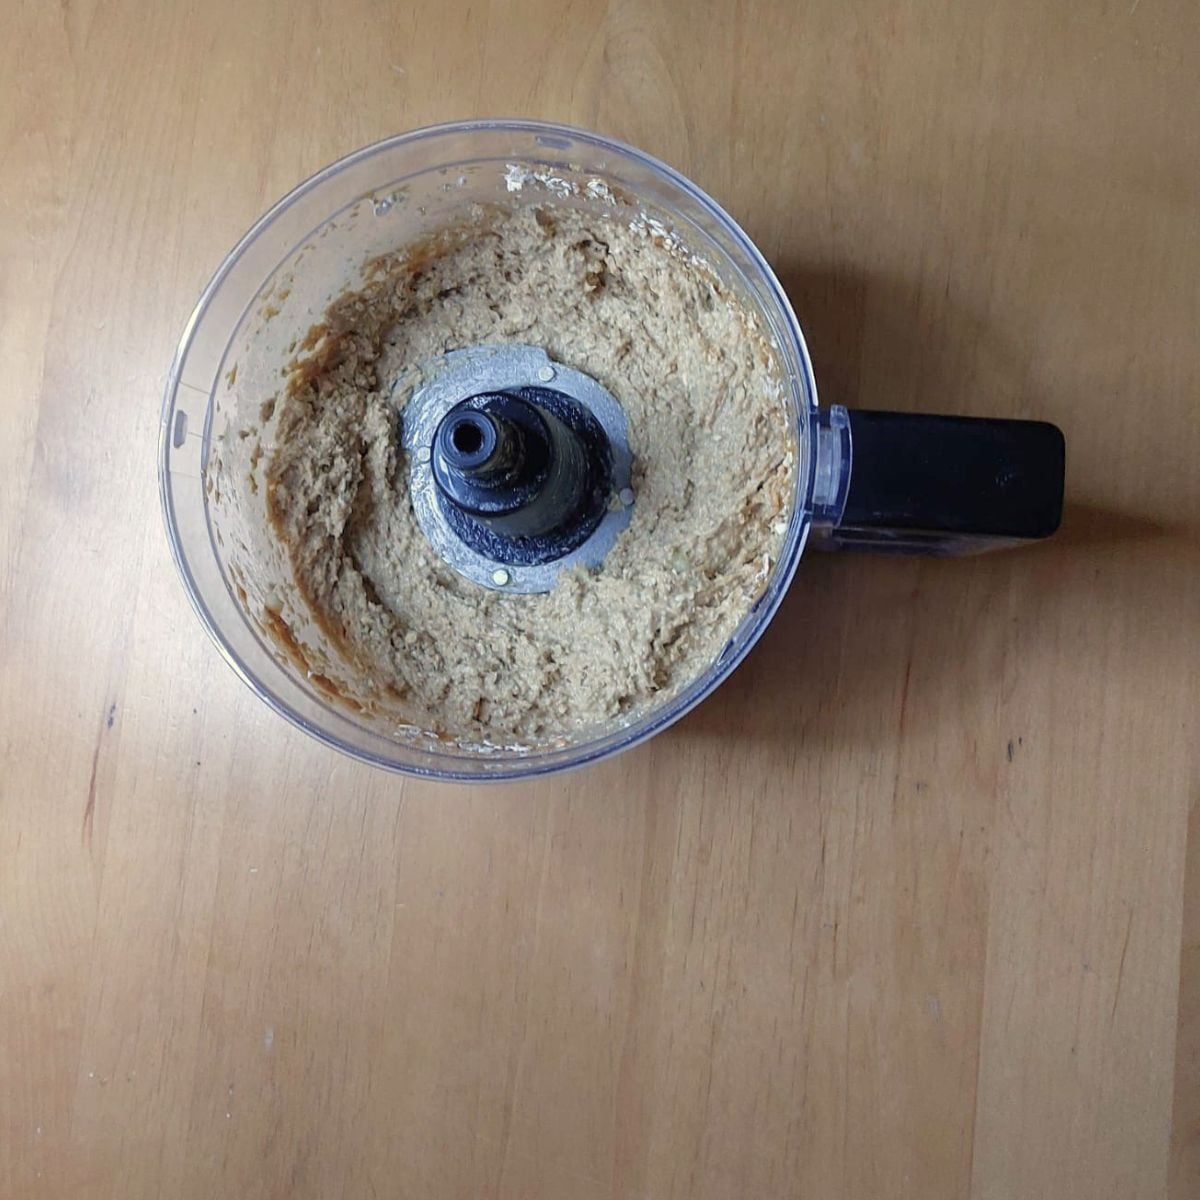
Step 3: Process until everything combines and forms a soft mixture.

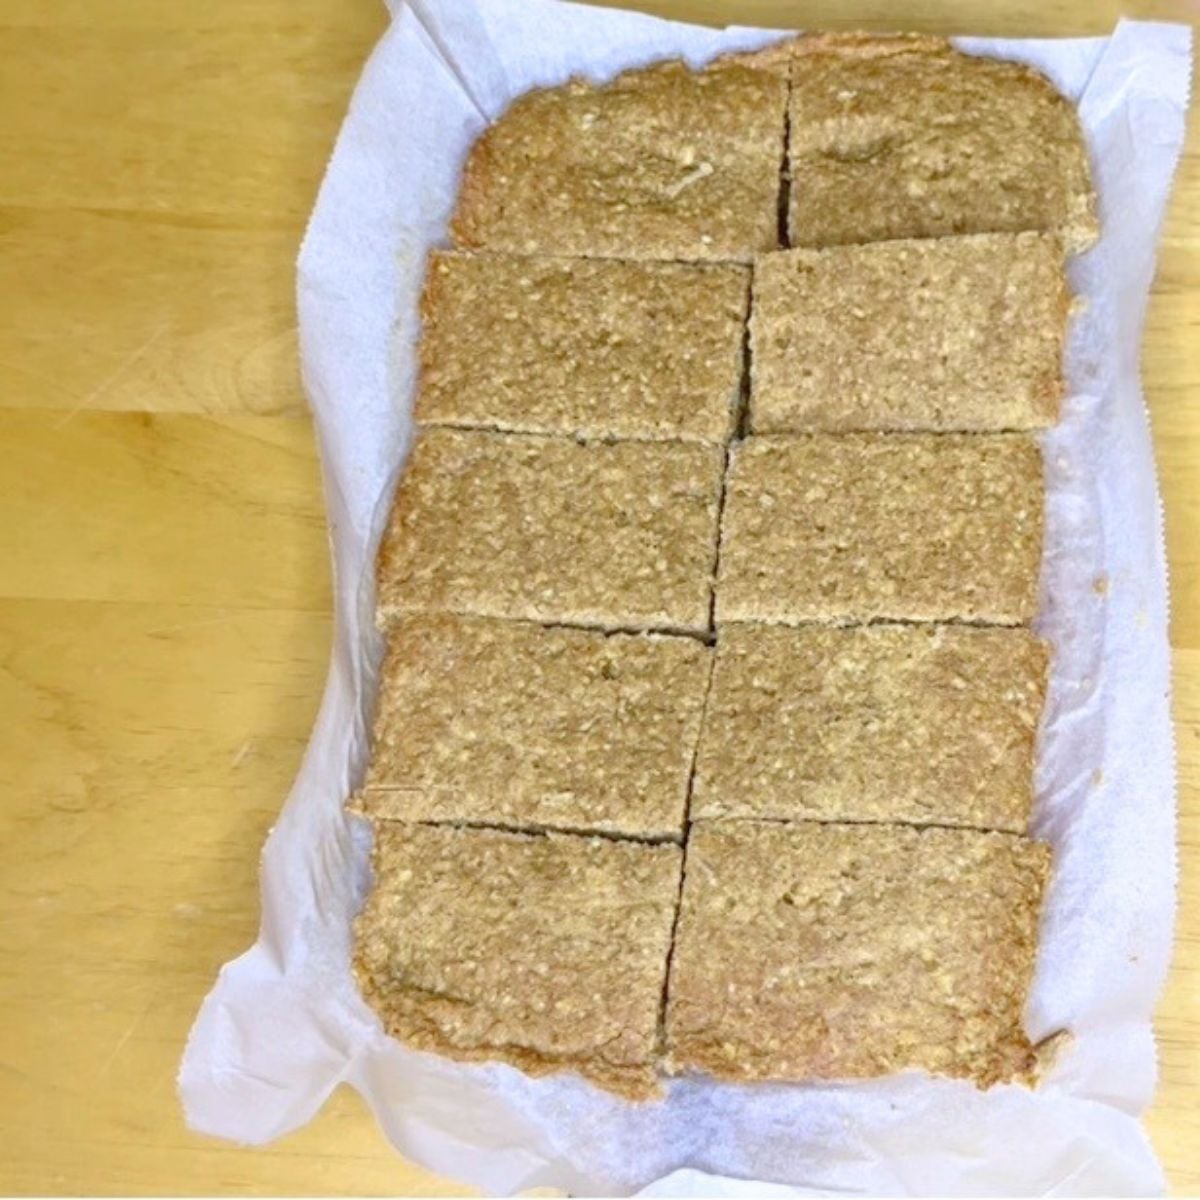
Step 4: Transfer the mixture to a lined baking dish and spread evenly with a spatula.
Step 5: Place another sheet of parchment/baking paper on top of the mixture and press gently with your fingers or a glass to even out the surface.
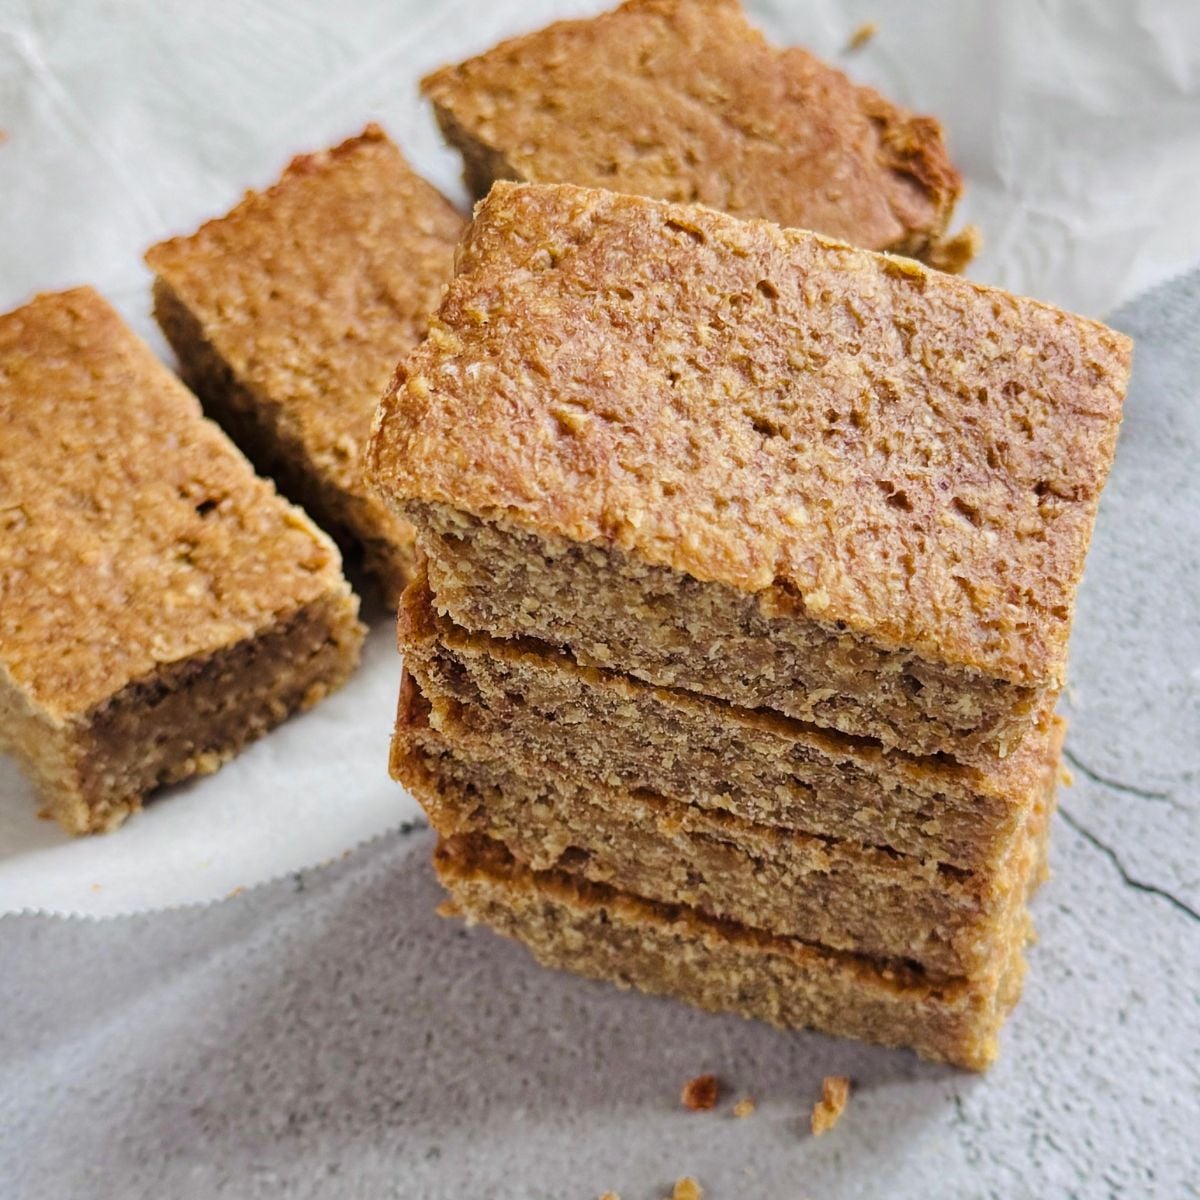
Step 6: Place the baking dish in the oven and bake until set and lightly golden.
Step 7: Place the baking dish on a cooling rack and allow it to cool completely.
Step 8: Cut it into bars.
Serve healthy kid friendly 3 ingredient banana oat breakfast bars with a glass of plain milk, saffron milk, masala milk or turmeric milk.
Tips and Tricks
Baking time: Keep an eye on the oven as the cookies bake, since baking time depends on your oven’s settings.
Parchment paper: Place parchment/greaseproof paper on top and gently press to help compact the mixture, even out the surface so that bars bake uniformly. It also improves the texture of banana bars.
Banana: Use a bit overripe bananas for the best taste without needing sweetener. The more the spots, the sweeter the bananas are.
Quantity: The number of bars you get from this recipe’s measurement depends on the size you cut them. Unlike no bake date bars, we cut these banana bars into larger pieces, which gave us just 10 bars from the same baking dish used for our date bars. For smaller snack size portions, cut them into narrow pieces to get around 16 bars.
How To Store 3 Ingredient Banana Oatmeal Bars?
Store these kid friendly banana oat bars in an airtight jar for up to 3 days at room temperature or in the fridge for up to a week.
Make sure baked banana oat bars have cooled completely before storing, as trapped moisture can cause condensation in the jar and spoil the bars.
FAQ
Yes, you can freeze banana bars for up to a month. Make sure to thaw them before serving. Arrange them on a lined baking tray with a bit of space between pieces and freeze until bars are firm. Once they are firm, transfer bars to a freezer safe container or bag and store them in the freezer.
Naturally, oats are gluten free, but they can get contaminated during processing. So for a gluten-free version, check the label and make sure to use certified gluten free oats.
3 Ingredient Banana Oat Breakfast Bars (Kid Friendly)
Equipment
- 1 9 inch x 6 inch Deep Baking Dish
- 1 Spatula
- 2 Parchment Paper/Baking Paper
Ingredients
1 Cup = 250ml ; 1 Tablespoon = 15ml ; 1 Teaspoon = 5ml
- 2 ripe bananas peel and break each into 2-3 pieces
- 2 cups (or) 190 gms rolled oats
- ¼ cup (or) 110 gms peanut butter
Instructions
- Preheat the oven to 140C (285F) and line a small baking dish with parchment/baking paper.
- Place 2 ripe bananas, 2 cups (or) 190 gms rolled oats and ¼ cup (or) 110 gms peanut butter in a food processor.2 ripe bananas, 2 cups (or) 190 gms rolled oats, ¼ cup (or) 110 gms peanut butter
- Process until everything combines and forms a soft mixture.
- Transfer the mixture to a lined baking dish and spread evenly with a spatula.
- Place another sheet of parchment/baking paper on top of the mixture and press gently with your fingers or a glass to even out the surface.
- Place the baking dish in the pre heated oven and bake for 25 – 30 mins until top layer turns light golden colour
- Once done, place the baking dish on a cooling rack and allow it to cool completely.
- Cut it into bars or any desired shapes.
Notes
Nutrition
KEEP IN TOUCH
Do let me know if you try this 3 ingredient banana oat breakfast bars recipe. If you like this recipe, kindly consider rating it using stars in the comment section or on the recipe card to help more people find this recipe online. You can stay up to date by following me on Facebook, Pinterest, Instagram or subscribing to my Youtube channel. Or why not subscribeto my blog and get simple recipes straight to your inbox?
More Treats To Make With Kids

Welcome to Flavours Treat. I share vegetarian recipes made with wholesome, mostly fresh ingredients. Every recipe has easy-to-follow instructions with process shots (detailed step-wise pictures), a short video and lots of tips to help your cooking journey. Read more