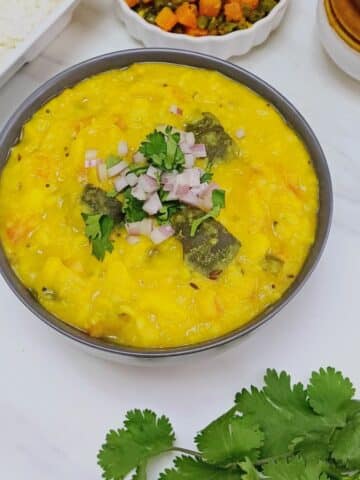
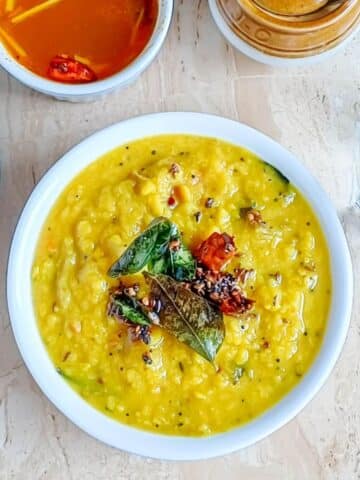
This toor dal recipe is a comforting and protein rich curry made with split pigeon peas (arhar dal) and tempered with flavourful spices and herbs. This is a no onion, no garlic, vegan dish that goes well with rice, chapati or naan bread.

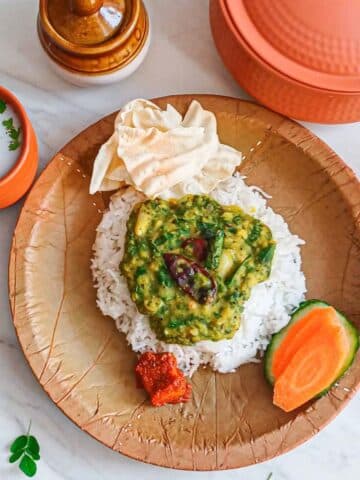
Toor dal is perfect to prepare on a busy midweek. The best part is that it needs minimal prep and cooking time. Serve it with plain rice, mango pickle and papad for a simple and hearty meal.
Jump to:
It is one of the most popular staples in Indian homes. The process for preparing dal varies slightly depending on the region. While most of the ingredients remain the same, the addition of some native ingredients adds a distinct flavour and aroma to the dal.

I have used curry leaves and tamarind and prepared dal in a typical south Indian style. But instead of using whole red chillies, I've coarsely ground them into powder after frying them in a small amount of oil.
This frying process intensifies the flavour of chillies and also adds a hint of smoky flavour making dal aromatic.
Ingredients

- Lentils: Toor dal (arhar dal) and urad dal for tadka.
- Spices: Mustard seeds, cumin seeds, turmeric powder, asafoetida, salt and dry red chillies.
- Vegetables and Herbs: Tomato, tamarind, curry leaves and coriander leaves.
- Liquid: I used olive oil, which I use in my kitchen daily. But any cooking oil would work. Water to soak and cook dal.
See the recipe card for quantities.
Step by Step Instructions

Rinse the toor dal under running water until the water runs clear.
Soak it for 15-20 minutes.

In a pressure cooker, add the soaked dal, 3 cups of water, turmeric powder, and tomatoes.
Put washed tamarind in a small bowl and place it in the middle of the cooker.

Pressure cook the dal for about 4 whistles.

Meanwhile, heat half a teaspoon of oil in a small pan. Once hot, add dry red chillies and fry for a minute until they release a pungent aroma.
Switch the heat off and allow chillies to cool completely.

Transfer the chillies to a spice grinder or mixer jar and grind coarsely.
Set it aside to use later.

Once dal is cooked, remove the pressure valve once the pressure settles.
Pour the tamarind from the bowl into the cooked dal.
Now mash the dal slightly with the back of the spoon and set aside.

For tadka, heat 1 teaspoon of oil in the same small pan.
Once the oil is hot, add mustard, cumin and urad dal.

Let spices splutter until they release aroma.
Now add curry leaves, asafoetida and stir well.
Finally, stir in coarsely ground red chillies and fry for a minute.

Switch the heat off and add the tadka to the cooked dal.

Add coriander leaves and stir well.

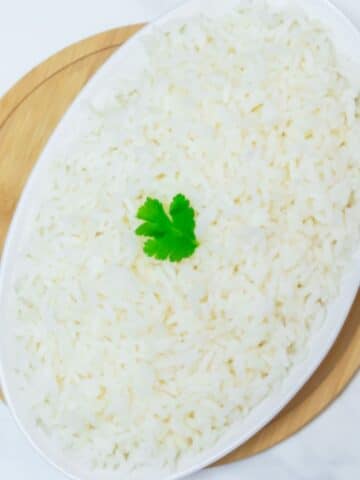
Serve piping hot dal with rice and any side dish of your choice.
Substitutions and Variations
Ghee: Try ghee instead of oil for tadka to enhance the flavour of dal. It adds a rich buttery taste.
Gluten-free: Although asafoetida is naturally gluten-free, the powder is mostly manufactured by diluting with gluten flour, so check the label for gluten free powder or skip it.
Curry leaves: I had to use frozen curry leaves as I didn't have fresh ones on hand. Try using fresh curry leaves as it enhance the taste of dal.
Storage
Fridge: This dal stays good for 3-4 days if stored in a clean airtight container in the fridge.
Freezer: Leftover dal could be stored in the freezer for future use. If there is a large quantity, divide it into the desired portions into freezer-safe containers or ziplock bags and store them in the freezer. Use it up in 2 months
Defrost: Thaw the dal the night before you plan to consume it. Take a portion out of the freezer and pop it in the fridge overnight. Reheat it in the microwave or a saucepan over medium heat on the stovetop until piping hot.
Tips and Tricks
Soak Dal: Soaking the toor dal for 15-20 minutes before cooking helps it cook faster and reduces cooking time.
Texture: If you prefer a smooth creamy dal, use an immersion blender to blend the dal after cooking. For a chunkier texture, just lightly mash it with the back of a spoon.
Consistency: Dal thickens as it cools. If it thickens too much, add a little hot water and stir well before serving. Check salt and adjust.
Pressure Cooker Time: Cook dal for 3 whistles if you soak it for at least 20 minutes. Otherwise, cook for 4-5 whistles if you prefer not to soak dal.
Tamarind: Instead of mixing the tamarind and dal together before cooking, put it in a bowl and place the bowl inside the pressure cooker. Tamarind is usually avoided as it prevents dal from softening.
Serving Suggestions
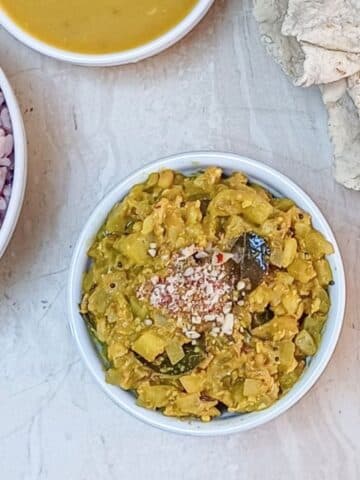
Serve toor dal with plain rice, carrot cabbage peas poriyal or goru chikkudu kaya fry, vankaya pachadi, avakaya, tomato rasam, papad and payasam makes a classic south Indian meal.
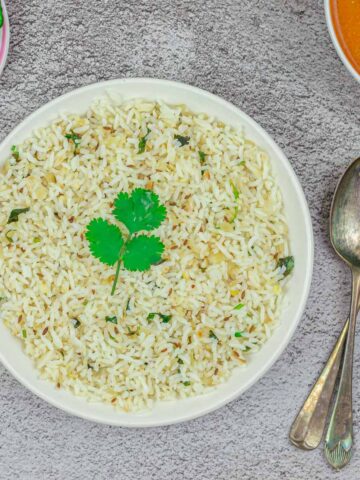
On busy weekdays, serve it with plain rice or jeera rice with a simple side dish such as jeera aloo, aloo bhindi sabzi or aloo gobi.
Make dal a little thick and pair it with chapati or naan for a simple yet filling meal.
Related
Looking for other recipes like this? Try these:
Pairing
These are my favourite dishes to serve with toor dal tadka:
KEEP IN TOUCH
Do let me know if you try this toor dal recipe. If you like this recipe kindly consider rating it using stars in the comment section or on the recipe card to help more people find this recipe online. You can stay up to date by following me on Facebook, Pinterest, Instagram or subscribing to my Youtube channel. Or why not subscribe to my blog and get simple recipes straight to your inbox?
📖 Recipe Card

Toor Dal Recipe (Arhar Dal)
Equipment
- 1 Pressure Cooker
- 1 Ladle/Spoon
- 1 Small frying pan
- 1 Bowl
Ingredients
1 Cup = 250ml ; 1 Tablespoon = 15ml ; 1 Teaspoon = 5ml
To cook dal
- 235 gms (or) ½ Cup Toor dal/Split Pigeon Peas/Arhar Dal
- ½ Teaspoon Turmeric Powder
- 20 gms (or) lime size Tamarind remove strings and wash
- 1 large Tomato wash and cut into quarters
- 1.5 Cups Water
Other Ingredients
- Salt as required
- 10-15 sprigs Coriander Leaves wash and chop finely
For Tadka
Instructions
- Rinse the toor dal under running water until the water runs clear.235 gms (or) ½ Cup Toor dal/Split Pigeon Peas/Arhar Dal
- Soak it for 15-20 minutes.
- In a pressure cooker, add the soaked dal, 3 cups of water, turmeric powder, and tomatoes.½ Teaspoon Turmeric Powder, 1 large Tomato, 1.5 Cups Water
- Put washed tamarind in a small bowl and place it in the middle of the cooker.20 gms (or) lime size Tamarind
- Pressure cook the dal for about 3 whistles.
- Meanwhile, heat half a teaspoon of oil in a small pan. Once hot, add dry red chillies and fry for a minute until they release a pungent aroma.½ Teaspoon Oil, 6 Spicy Dried Red Chillies, 2 Byadigi Dried Red Chillies
- Switch the heat off and allow chillies to cool completely.
- Transfer the chillies to a spice grinder or mixer jar and grind coarsely.
- Set it aside to use later.
- Once dal is cooked, remove the pressure valve once the pressure settles.
- Add salt and pour the tamarind from the bowl into the cooked dal.Salt
- Now mash the dal slightly with the back of the spoon and set aside.
- For tadka, heat 2 teaspoons of oil in the same small pan.2 Teaspoons Oil
- Once the oil is hot, add mustard, cumin and urad dal.½ Teaspoon Mustard Seeds, ½ Teaspoon Cumin Seeds, ½ Teaspoon Urad Dal
- Let spices splutter until they release aroma.
- Now add curry leaves, asafoetida and stir well.1 sprig Curry Leaves, big pinch Asafoetida
- Finally, stir in coarsely ground red chillies and fry for a minute.
- Switch the heat off and add the tadka to the cooked dal.
- Add coriander leaves and stir well.10-15 sprigs Coriander Leaves
- Serve piping hot dal with rice and any side dish of your choice.
Notes
Nutrition

Welcome to Flavours Treat. I share vegetarian recipes made with wholesome, mostly fresh ingredients. Every recipe has easy-to-follow instructions with process shots (detailed step-wise pictures), a short video and lots of tips to help your cooking journey. Read more




Leave a Reply