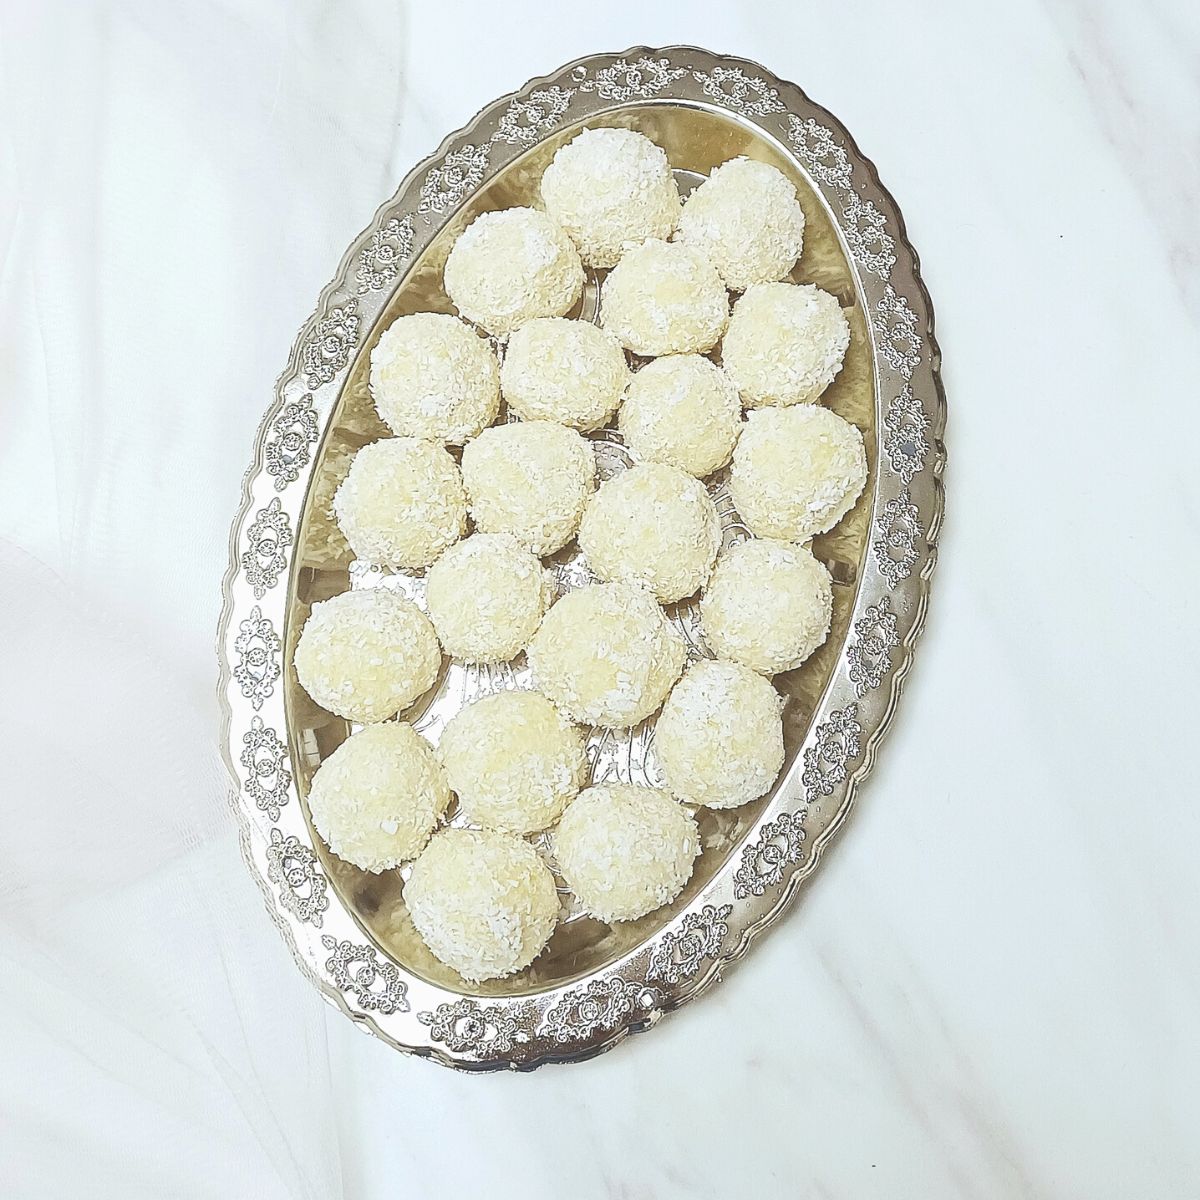
No bake coconut almond balls are a fabulous energy boost sweet treat. These are vegan and gluten free treats.
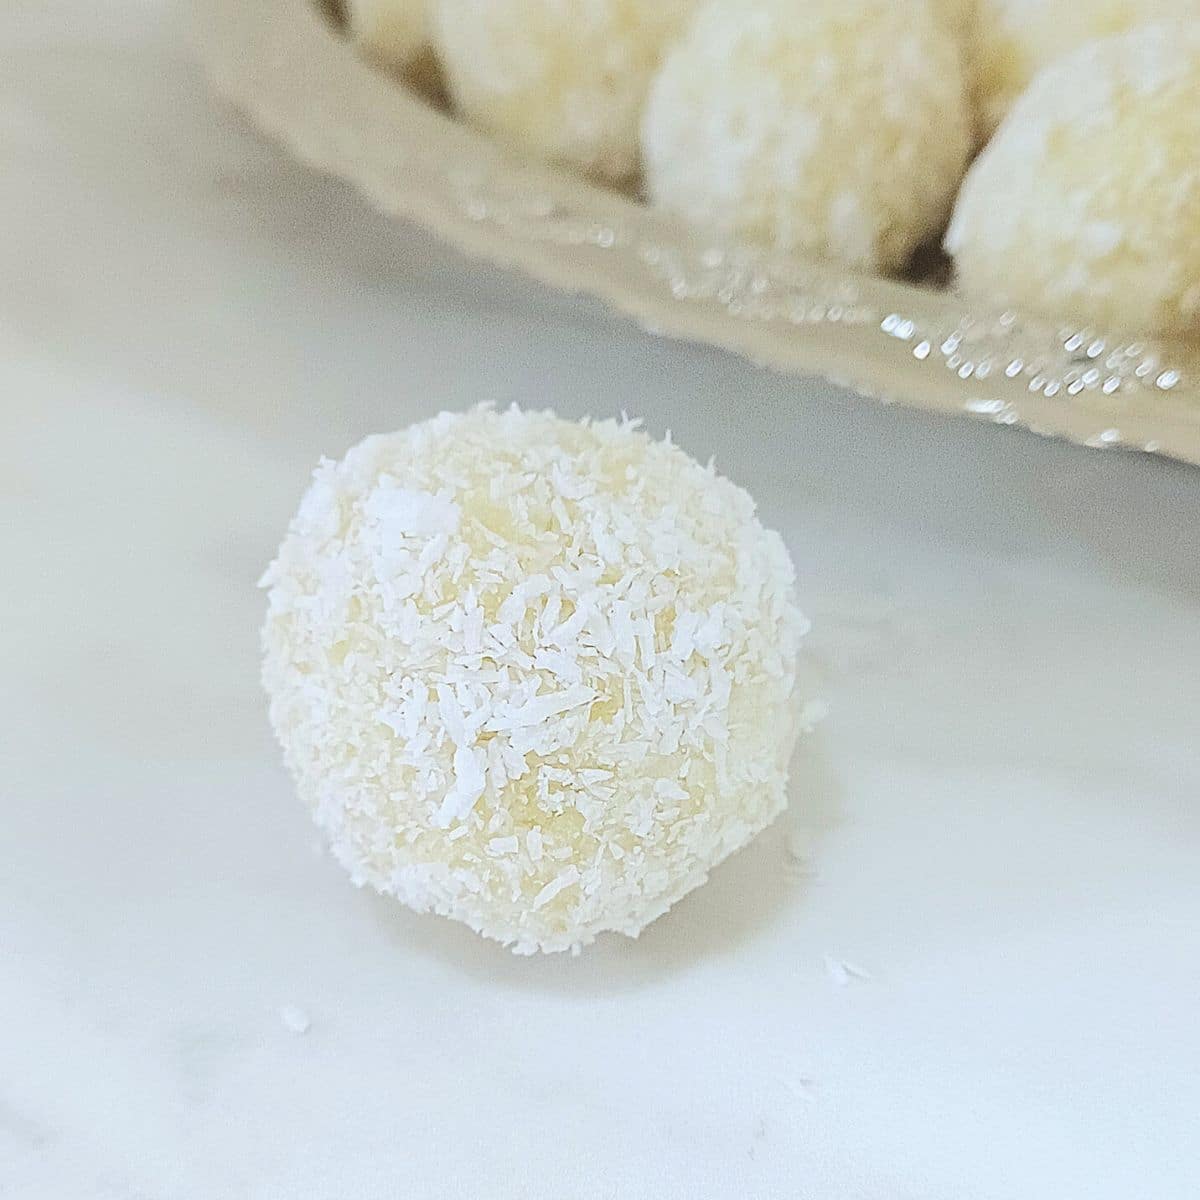
Whether you're craving a satisfying snack or need a healthy dessert option, these tasty treats are sure to become a household favourite. They are also ideal option for road trips or picnics.
There's no need for a food processor, knife, chopping board, or blender. A mixing bowl, spatula, and 10 minutes are all that's needed.
It resembles Raffaello's almond and coconut candy, but it's far healthier and contains no artificial sweeteners, preservatives, or additives.
These vegan coconut almond balls are perfect for making ahead of time for parties or quick snacking. Prepare them in advance and keep them chilled until ready to serve.
Jump to:
Ingredients

- Pantry Ingredients: Almond flour, desiccated coconut, coconut oil and salt.
- Sweetener: I used maple syrup but feel free to use any sweetener of your choice.
- Whole Nuts: Blanched almonds to stuff in the center of energy balls.
See the recipe card for quantities.
How to make no bake coconut almond balls?

In a mixing bowl, combine the desiccated coconut, almond flour, maple syrup, coconut oil and salt.
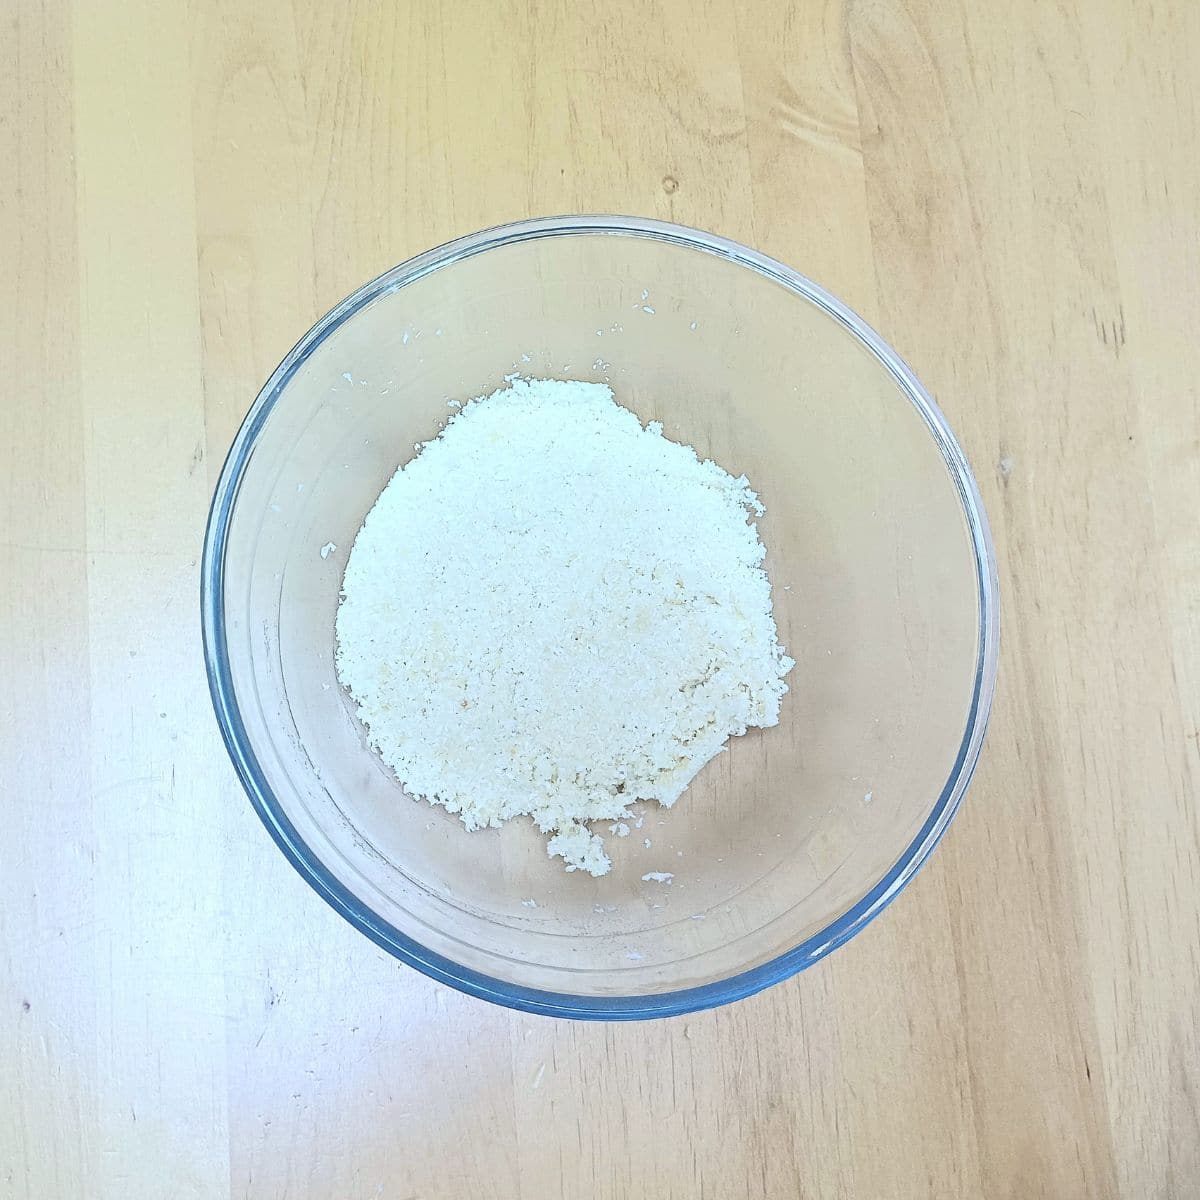
Mix until well combined. The mixture should be sticky enough to hold together.
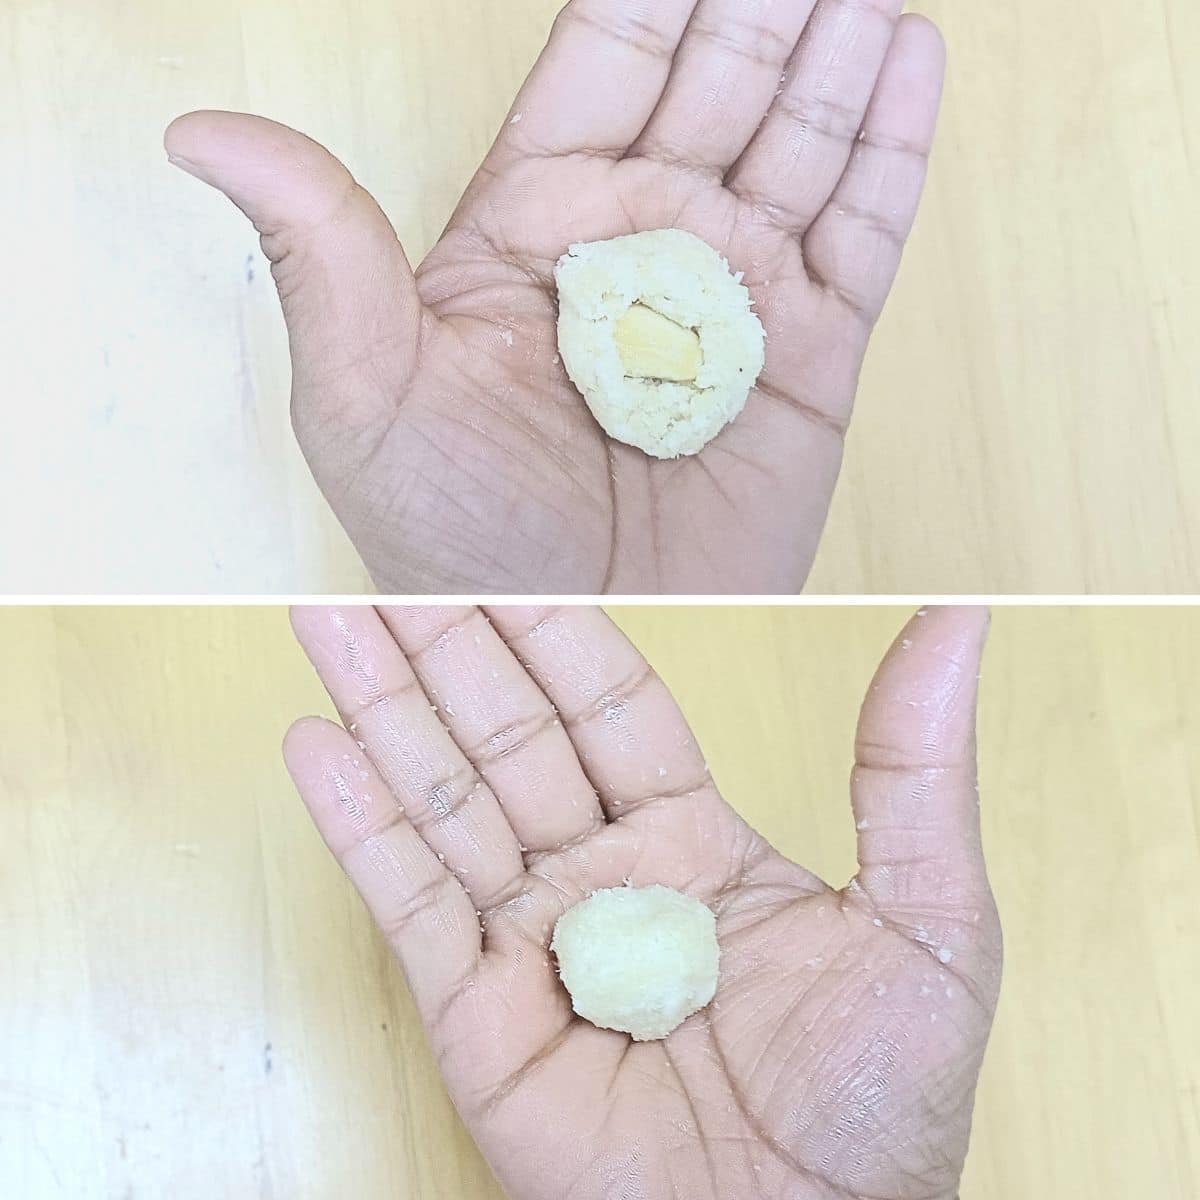
Take small portion of the mixture with a spoon and roll it between your palms to form small, bite-sized balls.
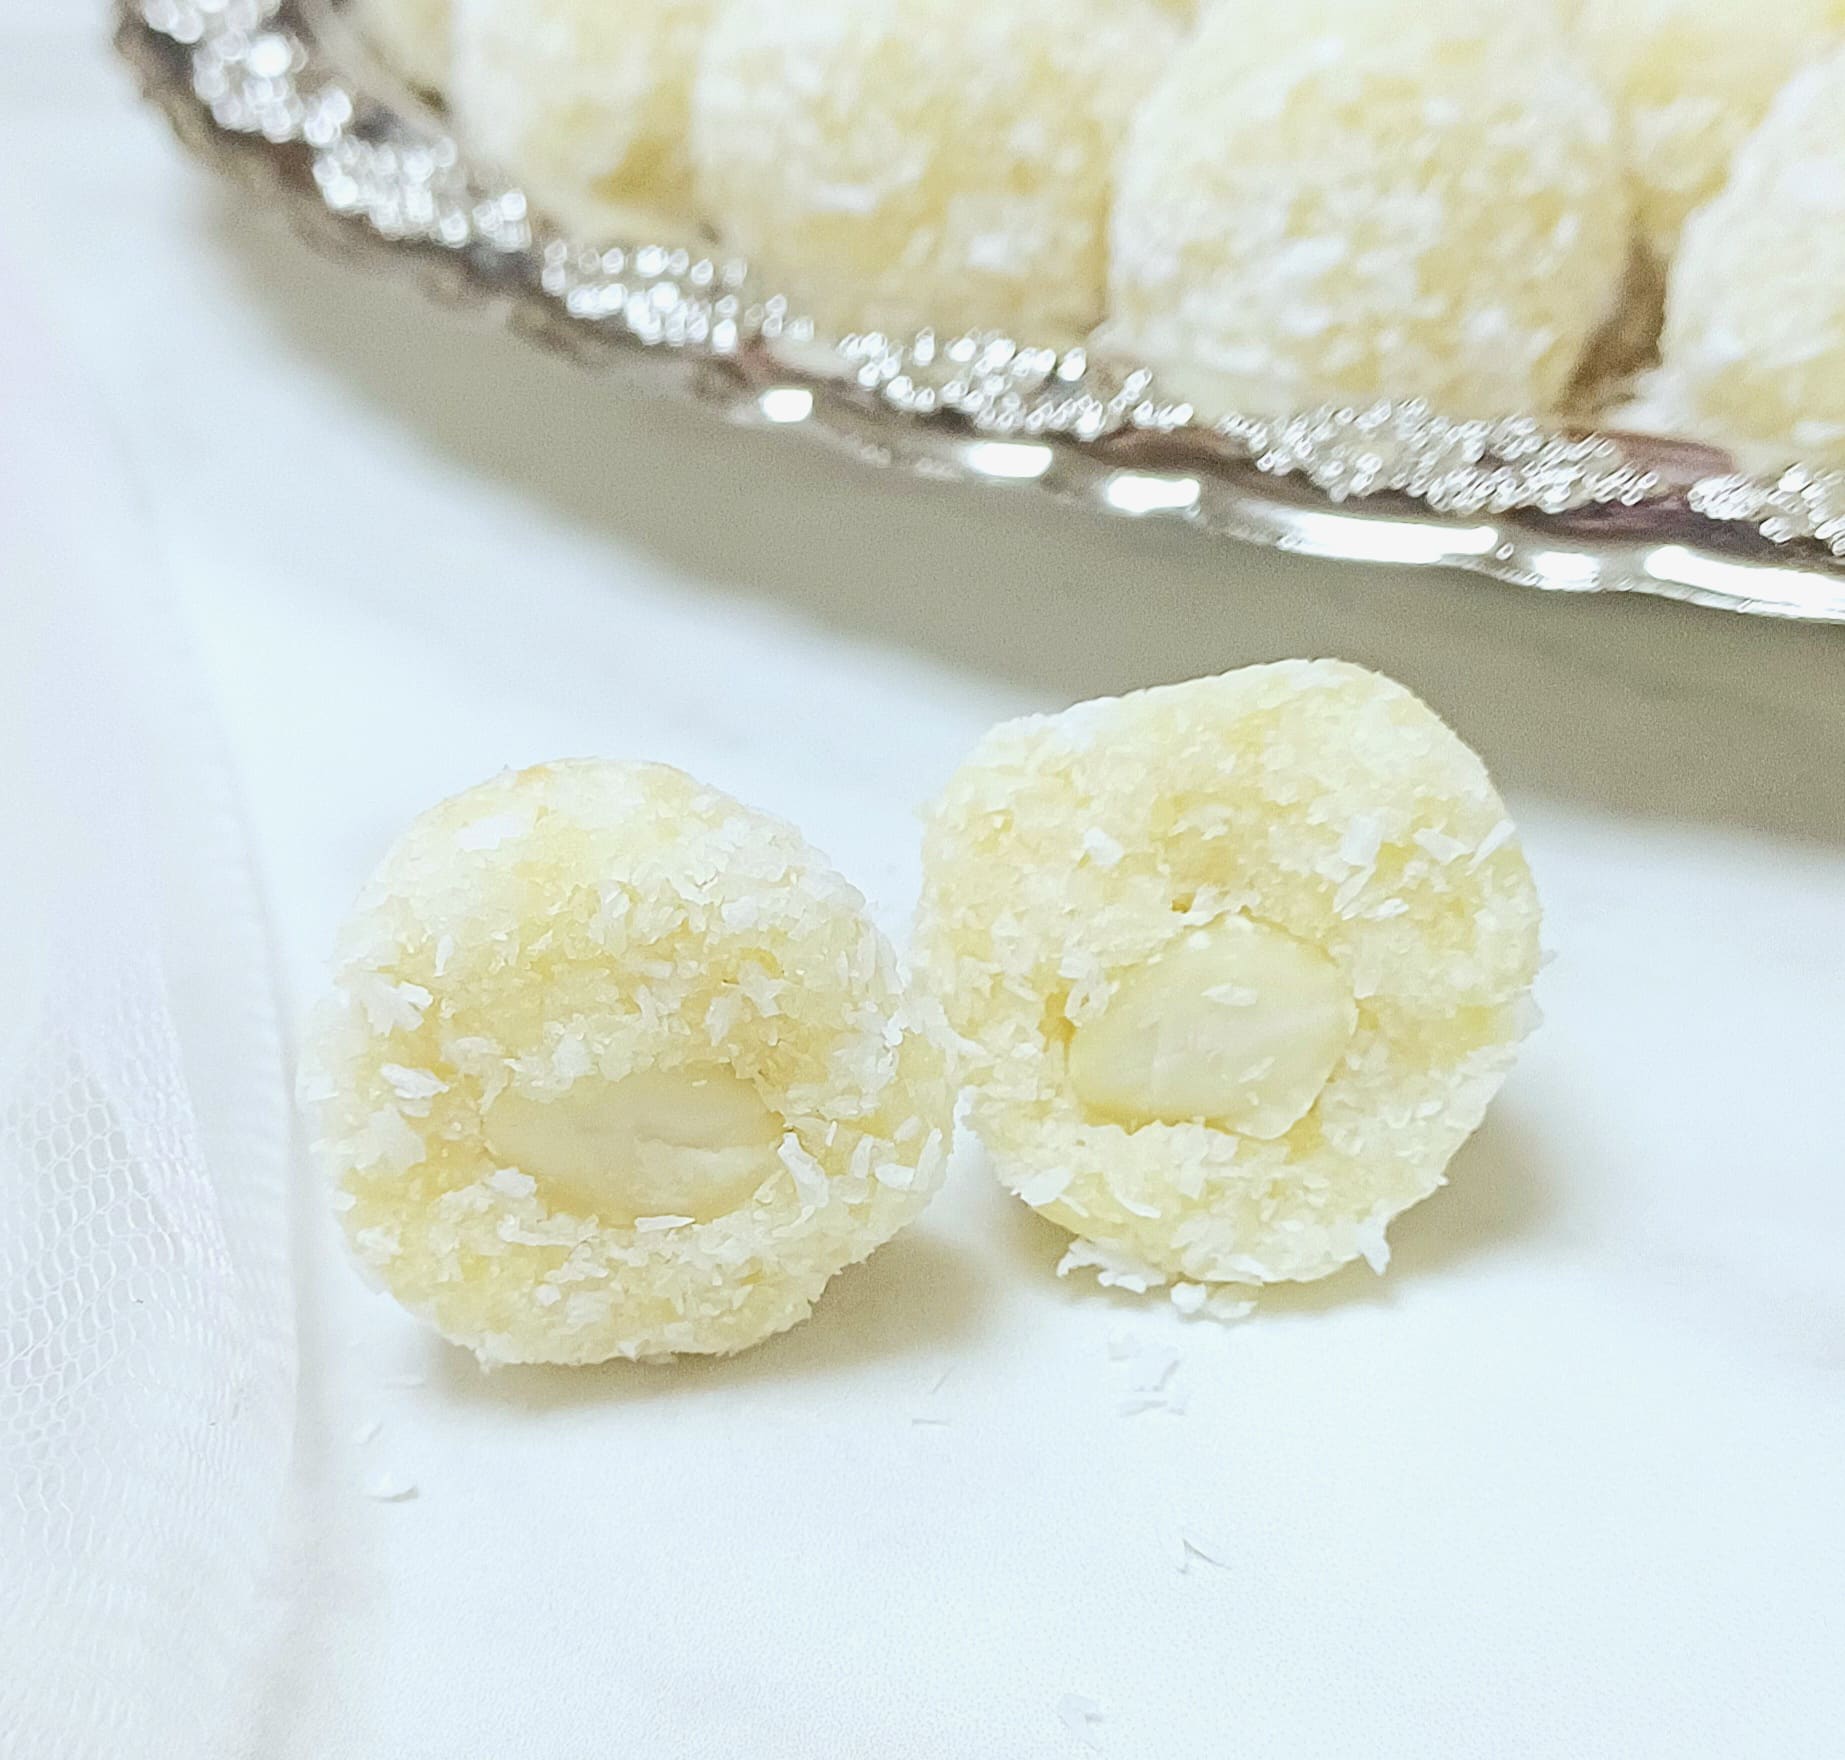
Place almond in the center, then wrap the mixture around the almond and roll it into a ball.

Roll the balls in additional shredded coconut for extra flavour and texture.
Place the balls on a parchment paper lined baking sheet or a silicone sheet.

Repeat the process of making balls until you have used up the remaining mixture.
Chill them in the refrigerator for at least 30 minutes to firm up.

Enjoy coconut almond balls and store the remaining balls in an airtight container in the refrigerator.
Substitutions and Variations
Chocolate Coconut Almond Balls: Melt sweet chocolate chips or dark cooking chocolate, dip and roll prepared balls to transform them into decadent chocolate almond coconut balls.
Almond Coating: Roll the balls in chopped almonds instead of coconut for added crunch.
Dried Fruits: Try dried fruits such as cranberries, raisins, dried apricots, or cherries to infuse fruity flavour.
Spices and Flavours: Try cardamom or almond extract for added warmth and extra flavour.
Coconut: You could use sweetened shredded coconut instead of unsweetened desiccated coconut. But you may have to reduce maple syrup.
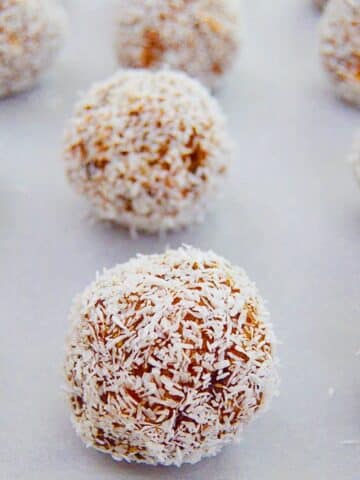
See almond flour energy balls and chocolate almond balls on my website!
Storage
Store these no bake almond coconut balls in an airtight container in the refrigerator for up to 10 days.
Tips and Tricks
Use High-Quality Ingredients: Use good quality coconut and almond flour as they enhance the flavour and texture of your coconut almond balls. Make sure they are fresh and well within their expiry date.
Adjust Consistency: The consistency of the mixture is essential for rolling it into perfect balls. If the mixture is too dry add a bit more maple syrup or coconut oil if you don't want your almond balls to end up being extremely sweet. If it's too wet, add more almond flour or desiccated coconut.
Grease Your Hands: When rolling the mixture into balls, lightly grease your hands with coconut oil to prevent sticking while rolling.
Uniform Size: Use a measuring spoon or small scoop to make the balls as uniform and evenly sized as possible.
Cover Almonds: After placing the whole almond, ensure to roll such that the almond is completely covered with the mixture.
FAQ
Yes, Freezing is a great option for a longer shelf life. Freeze energy balls on a baking sheet until solid and then transfer them to a freezer-friendly container or ziplock bag. Ensure to thaw them well before serving. Use up within 3 months.
Soak almonds in warm water for 15-20 minutes. Drain almonds, rinse with cold water and then slightly squeeze to remove the skin.
KEEP IN TOUCH
Do let me know if you try this no bake coconut almond balls recipe. If you like this recipe kindly consider rating it using stars in the comment section or on the recipe card to help more people find this recipe online. You can stay up to date by following me on Facebook, Pinterest, Instagram or subscribing to my Youtube channel. Or why not subscribe to my blog and get simple recipes straight to your inbox?
📖 Recipe Card
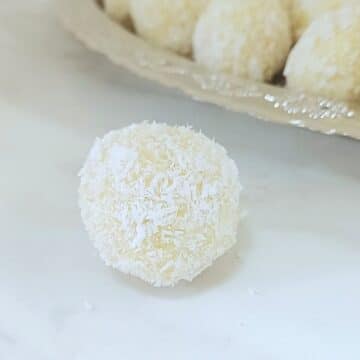
No Bake Coconut Almond Balls
Equipment
- 1 Spatula
Ingredients
1 Cup = 250ml ; 1 Tablespoon = 15ml ; 1 Teaspoon = 5ml
- 1 Cup (or) 100 gms Desiccated Coconut
- ½ Cup (or) 70 gms Almond Flour
- 3 Tablespoons Coconut Oil
- 4 Tablespoons Maple Syrup adjust to taste
- 24 Blanched Almonds
- small pinch Salt optional
- 3 Tablespoons Desiccated Coconut
Instructions
- In a mixing bowl, combine the desiccated coconut, almond flour, maple syrup, coconut oil and salt. Mix until well combined.1 Cup (or) 100 gms Desiccated Coconut, ½ Cup (or) 70 gms Almond Flour, 3 Tablespoons Coconut Oil, 4 Tablespoons Maple Syrup, small pinch Salt
- The mixture should be sticky enough to hold together.
- Once the mixture is well combined, use your hands to roll it into small balls.
- Take small portions of the mixture with a spoon and roll it between your palms to form small, bite-sized balls.
- Place almond in the center, then wrap the mixture around the almond and roll it into a ball.24 Blanched Almonds
- Roll the balls in additional shredded coconut for extra flavour and texture.
- Place the balls on a parchment paper lined baking sheet or a silicone sheet.
- Repeat the process until you have used up the remaining mixture.
- Chill them in the refrigerator for at least 30 minutes to firm up.
- Once firm, the coconut almond balls are ready to serve! Store any leftovers in an airtight container in the refrigerator.
Notes
Nutrition
Related
Looking for other no bake recipes like this? Try these:
Pairing
These are my favorite dishes to serve with [this recipe]:

Welcome to Flavours Treat. I share vegetarian recipes made with wholesome, mostly fresh ingredients. Every recipe has easy-to-follow instructions with process shots (detailed step-wise pictures), a short video and lots of tips to help your cooking journey. Read more







Leave a Reply