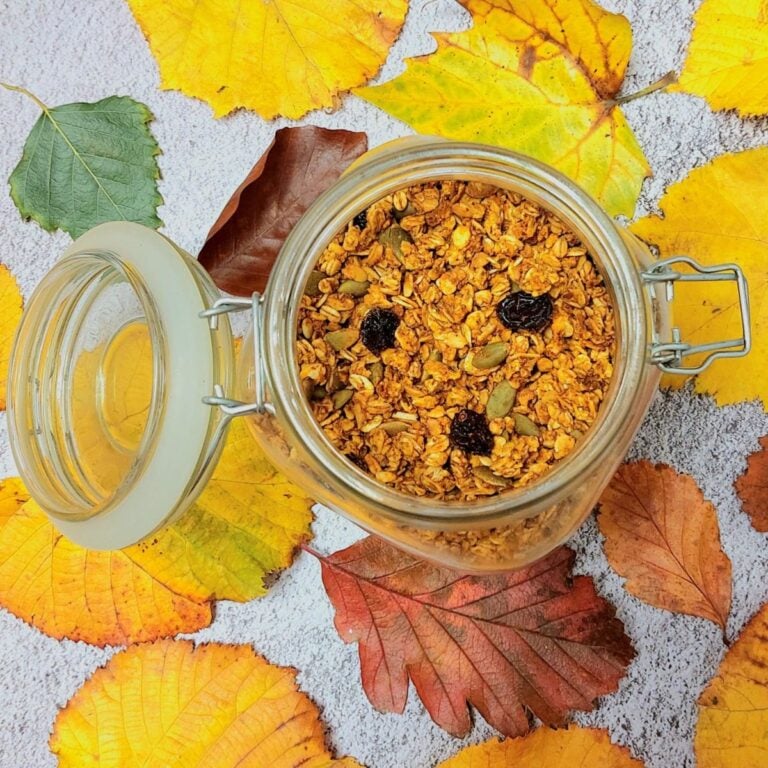
Ragi malt powder – a nutritious and energy boosting powder made with finger millet, nuts and spices. The popular south Indian gluten free porridge ragi malt made with this premix, milk or water and sweetener is a perfect breakfast.

Ragi malt is popular among health-conscious individuals, those following gluten-free diets, and anyone seeking a natural, plant-based energy source and nutrition.
In addition to its nutritional benefits, a glass of ragi malt is also known for its comforting taste and ability to provide sustained energy throughout the day.
The best part is that it can be enjoyed warm or chilled, making it especially refreshing and cooling during hot summer days.
Ingredients

- Flour: Ragi flour/finger millet flour/nachni flour
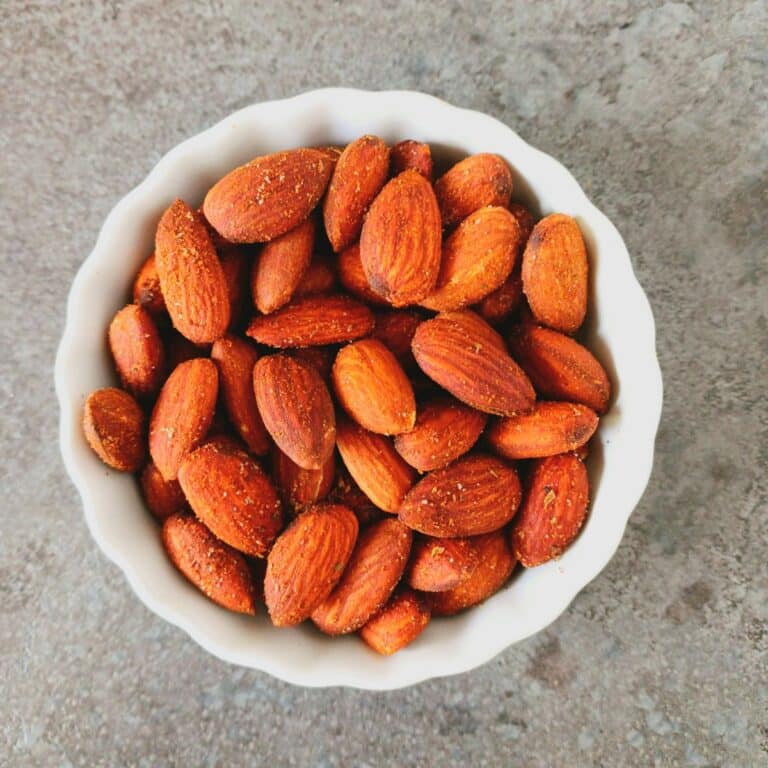
- Nuts and Seeds: Almonds, pumpkin seeds and melon seeds.
- Spices: Saffron and cardamom powder.
- Sweetener: I used jaggery but you could use any other sweetener of your choice.
- Milk: I used semi-skimmed dairy milk, but water or plant based milk could be used instead.
See the recipe card for quantities.
Step By Step Instructions

Step 1: Place pan on stovetop and heat over medium-low heat.
Step 2: Dry roast pumpkin seeds, almonds and melon seeds for 2-3 minutes until they release aroma.
Step 3: Transfer them to a bowl/tray and allow to cool completely.

Step 4: In the same pan, roast ragi flour over low heat for 3-4 minutes until it releases a mild aroma.
Step 5: Keep stirring regularly to prevent the flour from charring.
Step 6: Once done, switch the heat off and allow the flour to cool completely.

Step 7: Place the roasted seeds and nuts in the blender jar. Add saffron and blend it to powder.

Step 8: Now add cardamom powder, roasted ragi flour and pulse it a few times until well combined.

Step 9: Allow the ragi malt premix to cool completely and transfer it to a clean, dry glass jar.

Step 10: Bring milk to boil in a saucepan over medium heat.

Step 11: While milk boils, combine freshly prepared ragi premix and a little milk in a small bowl.
Step 12: Stir well until you get a lump free smooth paste.

Step 13: Reduce the heat to the lowest setting. Gently add ragi paste with one hand while stirring the milk with another hand simultaneously to prevent lumps.

Step 14: Increase the heat slightly and cook the mixture stirring regularly for 5-6 minutes until it thickens.

Step 15: Switch the heat off, add jaggery and stir until well combined.

Pour ragi malt into glasses, top it with chopped almonds, saffron and serve.
You can enjoy the ragi malt warm, or let it cool down, refrigerate and serve it chilled, depending on your preference.
Check out more recipes with ragi flour on the blog – ragi ganji, ragi nookalu ambali and ragi mudde.
Substitutions and Variations
Dairy-Free: Substitute dairy milk with plant-based milk such as soy, oats or coconut milk.
Spices: If you don’t have cardamom powder, you can use whole cardamom. Just grind it along with nuts and seeds.
Sweetener: Feel free to replace jaggery with maple syrup, coconut sugar, honey, or any sweetener of your choice.
Storage
Store ragi malt powder in a clean, dry glass jar at room temperature for up to 2 months. Ensure the jar is kept away from direct sunlight and moisture, preferably in a kitchen cabinet or pantry.
For a longer shelf life, you can store the jar in the fridge.
Tips and Tricks
Ragi Paste: Always make a ragi paste with milk first instead of adding ragi malt premix directly into boiling milk. This is to prevent lumps from forming while combining it with boiling milk.
Adjust Consistency: Add more milk for a thinner or soup consistency and less milk for a thick consistency.
KEEP IN TOUCH
Do let me know if you try this ragi malt powder recipe. If you like this recipe kindly consider rating it using stars in the comment section or on the recipe card to help more people find this recipe online. You can stay up to date by following me on Facebook, Pinterest, Instagram or subscribing to my Youtube channel. Or why not subscribe to my blog and get simple recipes straight to your inbox?
Ragi Malt Premix
Equipment
- 1 Saucepan
- 1 Spoon
- 1 Mixer Grinder/Blender
- 1 Glass jar
Ingredients
1 Cup = 250ml ; 1 Tablespoon = 15ml ; 1 Teaspoon = 5ml
To Prepare Ragi Malt Powder
- 15 almonds
- ½ teaspoon pumpkin seeds
- 1.5 teaspoon melon seeds
- 1 cup ragi flour (finger millet flour)
- ½ teaspoon cardamom powder
- 6-7 t saffron
To Prepare Ragi Malt
- 1 cup milk
- 2 teaspoons ragi malt powder
- 1 tablespoon jaggery adjust to taste
Instructions
- Place pan on stovetop and heat over medium-low heat.
- Dry roast ½ teaspoon pumpkin seeds, 15 almonds and 1.5 teaspoon melon seeds for 2-3 minutes until they release aroma.15 almonds, ½ teaspoon pumpkin seeds, 1.5 teaspoon melon seeds
- Transfer them to a bowl/tray and allow to cool completely.
- In the same pan, roast 1 cup ragi flour (finger millet flour) over low heat for 3-4 minutes until it releases a mild aroma.1 cup ragi flour (finger millet flour)
- Keep stirring regularly to prevent the flour from charring.
- Once done, switch the heat off and allow the flour to cool completely.
- Place the roasted seeds and nuts in the blender jar. Add 6-7 t saffron and blend it to powder.6-7 t saffron
- Now add ½ teaspoon cardamom powder, roasted ragi flour and pulse it a few times until well combined.½ teaspoon cardamom powder
- Allow the premix to cool completely and transfer it to a clean, dry glass jar.
- Combine freshly prepared 2 teaspoons ragi malt powder and 1 cup milk in a small bowl.2 teaspoons ragi malt powder
- Stir well until you get a lump free smooth paste.
- Bring ¾ cup Milk to boil in a saucepan over medium heat.1 cup milk
- Reduce the heat to the lowest setting. Gently add ragi paste with one hand while stirring the milk with another hand simultaneously to prevent lumps.
- Increase the heat slightly and cook the mixture stirring regularly for 5-6 minutes until it thickens.
- Switch the heat off, add 1 tablespoon jaggery and stir until well combined.1 tablespoon jaggery
- Pour ragi malt into glasses, top it with chopped almonds, saffron and serve.
Notes
Nutrition

Welcome to Flavours Treat. I share vegetarian recipes made with wholesome, mostly fresh ingredients. Every recipe has easy-to-follow instructions with process shots (detailed step-wise pictures), a short video and lots of tips to help your cooking journey. Read more